
Many of you know the acronym “QDR” from class. This stands for Queda de Rins and translates in Portuguese to “fall on the kidneys”. This move involves placing your hip on top of your elbow and managing levers at the wrist and elbow to keep yourself balanced and stable. I learned when I was young since a lot of dancers worked for my father, who owned a “DJ” or Production company. Later I re-learned and refined it under Ido Portal. The move comes from Capoeira, but is seen all over in practices such as breakdancing and calisthenics.
Initially, the main obstacle to achieving a QDR is the wrist. The move can be quite heavy on them if you are de-conditioned. Same goes for the shoulder. Please spend some time with a quality trainer/teacher so they can teach you various joint preparation drills. If you don’t have one, book an intro session at the bottom with one of our qualified teachers. Once that is ready to go, it is still a technical move. I often tell my students “It does not require strength to be learned, but it will build strength once you do.” What I have noted at the same time is that if you cannot complete at LEAST an eccentric protracted push-up on the floor (even with knees down) you will be quite fearful of sending the head forward to the correct position. Some people have no idea how to properly load their upper body at all thanks to the failures of the fitness world and the crap push-ups they let you get away with. When in doubt, improve your push-up.
Let’s discuss some of the technical aspects of the move, since this will largely drive your success.
-
There is no “one spot” so get rid of that notion first. Control all the spots. Don’t be that perfect scenario person. “I can become invisible, but only when no ones watching.”
-
The QDR requires strong side flexion of the spine, coupled with depression of the working shoulder. Do this well and you will find a very solid placement on the side of your hip. (Slight spine rotation and extension too, for you nerds.)
-
The shoulder will be externally rotated (away from center). The more, the better. Address tightness and weakness in your warm-up and cool-down.
-
The elbow should be kept directly over the wrist. Failure to do this is the most common mistake, and leads to falls, slips, and potentially a cranky wrist.
-
Your head should form a tripod shape in front of and between your hands. Sending it further out is generally a good cue for beginners.
-
Once you have the placement, always attempt to rotate your belly button towards the ceiling. The more you do this, the easier it becomes to shift to more advanced versions. I forget where I originally learned this cue – but I was reminded by my teacher John Sapinoso recently. You think your belly button is facing up? You are lying to yourself!
The QDR is best learned on the wall, since we can lower the intensity to allow for joint adaptation, but also to go slow and find a quality placement. You can refine the technical aspects on the wall better than you can on the floor and so I still use the wall to warm-up to this day. Still, you will need to work progressions on the floor which we will cover next.
Pro Tip : The Diagonal Stretch is a great exercise to include with your QDR work, as the final positions incorporate the same stretched shape.
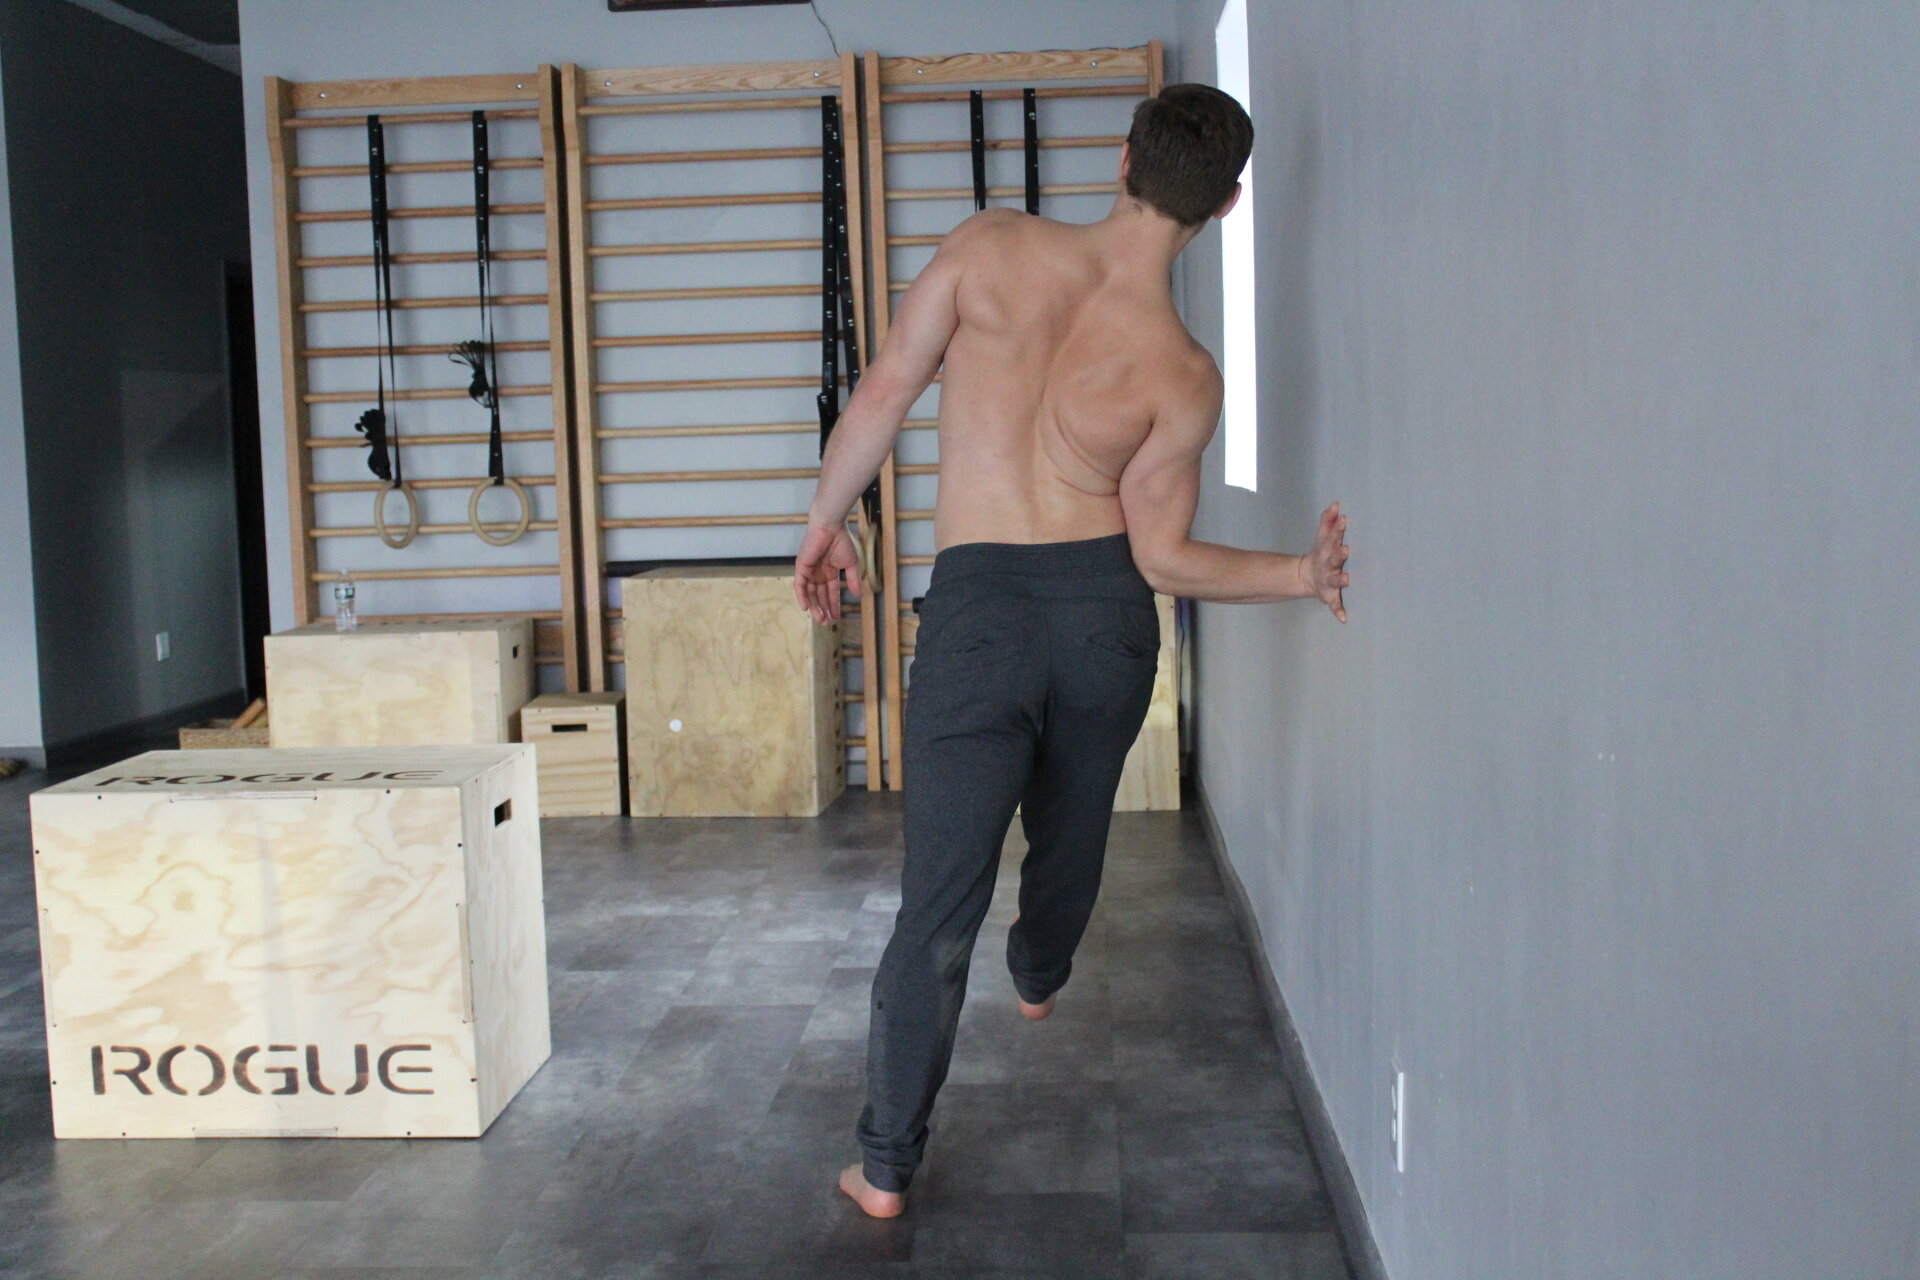
QDR on wall – Note the angle of the Elbow. Directly under the shoulder and directly over the wrist, with fingers facing back.
I would recommend building to sets of 30 seconds on the wall – and even having a partner apply pressure into your opposite hip to get a feel for the pattern.
Once you have played around with the wall, it is time to take it to the floor. There are many variations of this and should be experimented. I will cover a few basic positions we use as general progressions, but it is not an exhaustive list. If you are interested in guidance, once again, book an intro with us at the bottom of the article!
The first progression on floor is with the knee placed on the same side elbow. Once you get this placement, lightly cross your feet. There will be no need to “jump” to get off of the ground. Doing this is an indication that you are not understanding the movement and you could hurt your wrist or shoulder by forcing yourself up.
Note the relationship of the head to the hands. Using the side of the head as an extra base of support.
After you can hold this – you have more than one direction you could take. (Go you!)
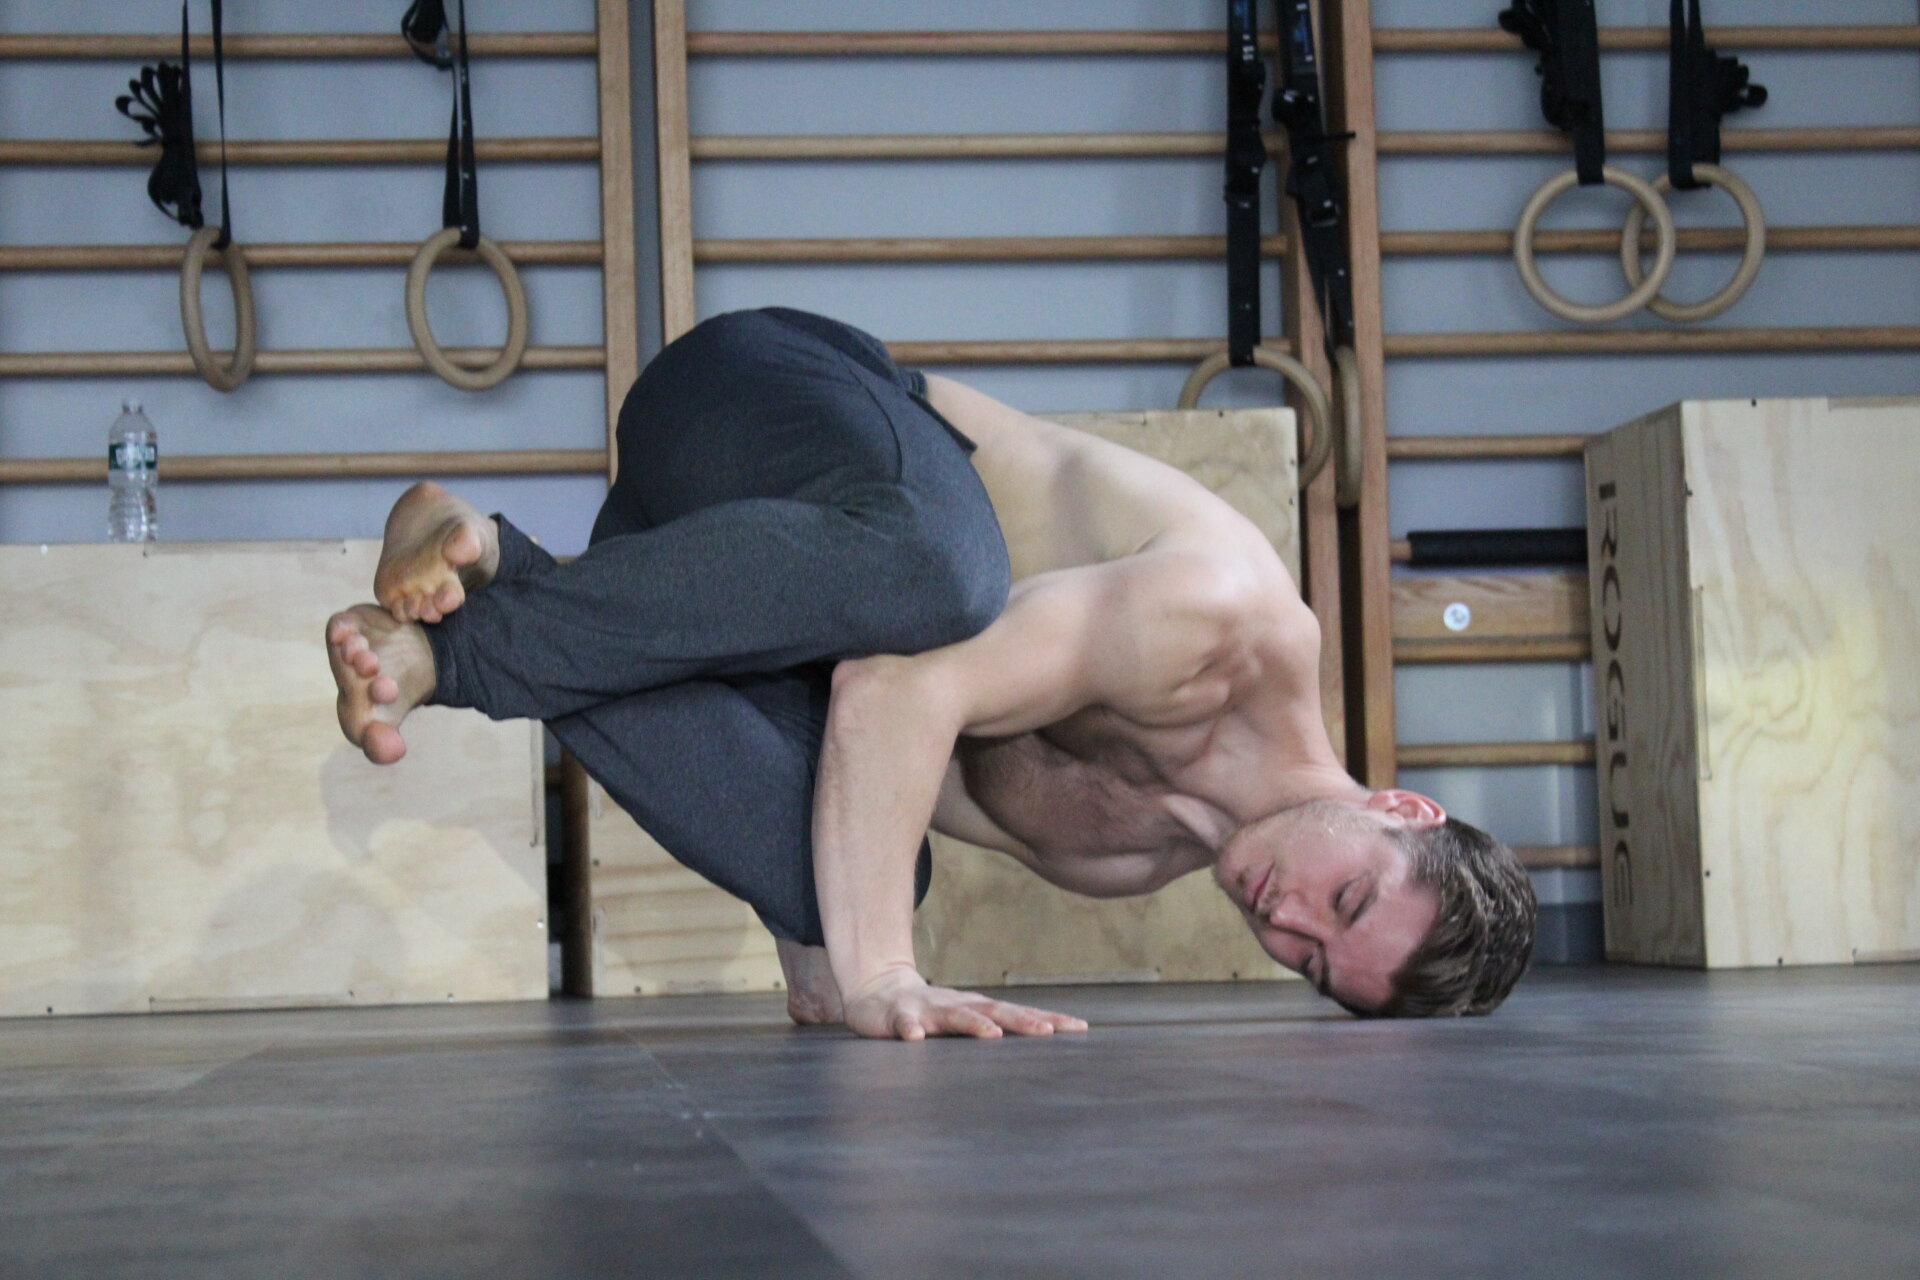
One option is to build some serious strength in the tucked position. This position generally feels very heavy compared to the split leg variation. I would recommend at least alternating this with the other progression I will show.
The second option is to begin to split the legs and use the head as a third base of support. That makes your head and both hands your only supports on the floor. Less points of contact = less base of support = Increased difficulty/complexity.

Tuck QDR position
Split legs with head down – Pulling legs apart. There are steps we will use before this in person. Note where the belly button faces.
Don’t rush out of this progression. There is much more here to be explored than simply increasing the difficulty. This position allows you to really develop other areas of the body without dealing with balance. Develop your ability to twist your torso, move your legs, and more. You will come back to this position time and time again with more advanced patterns as you learn! Save for another time…
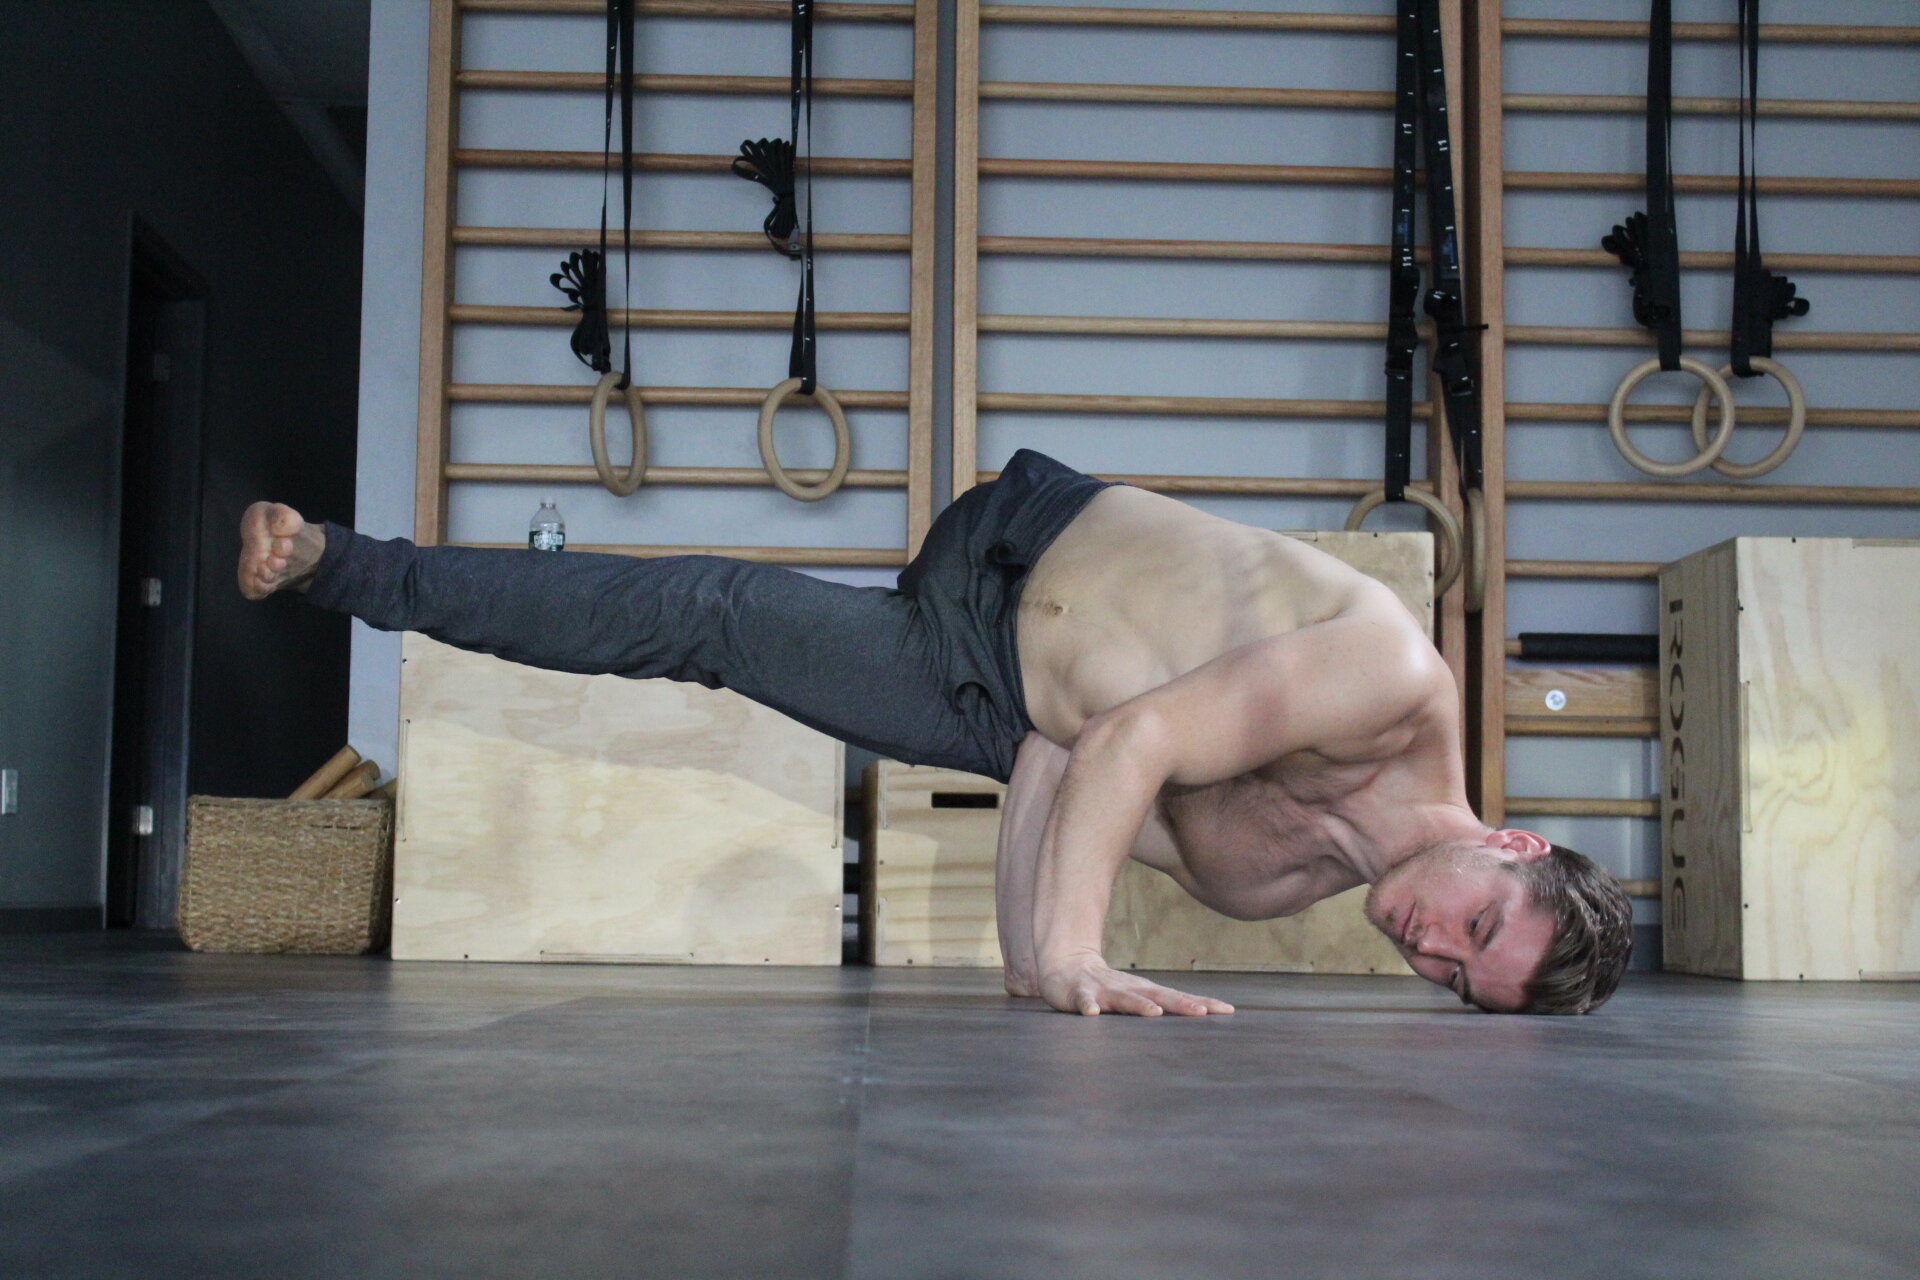
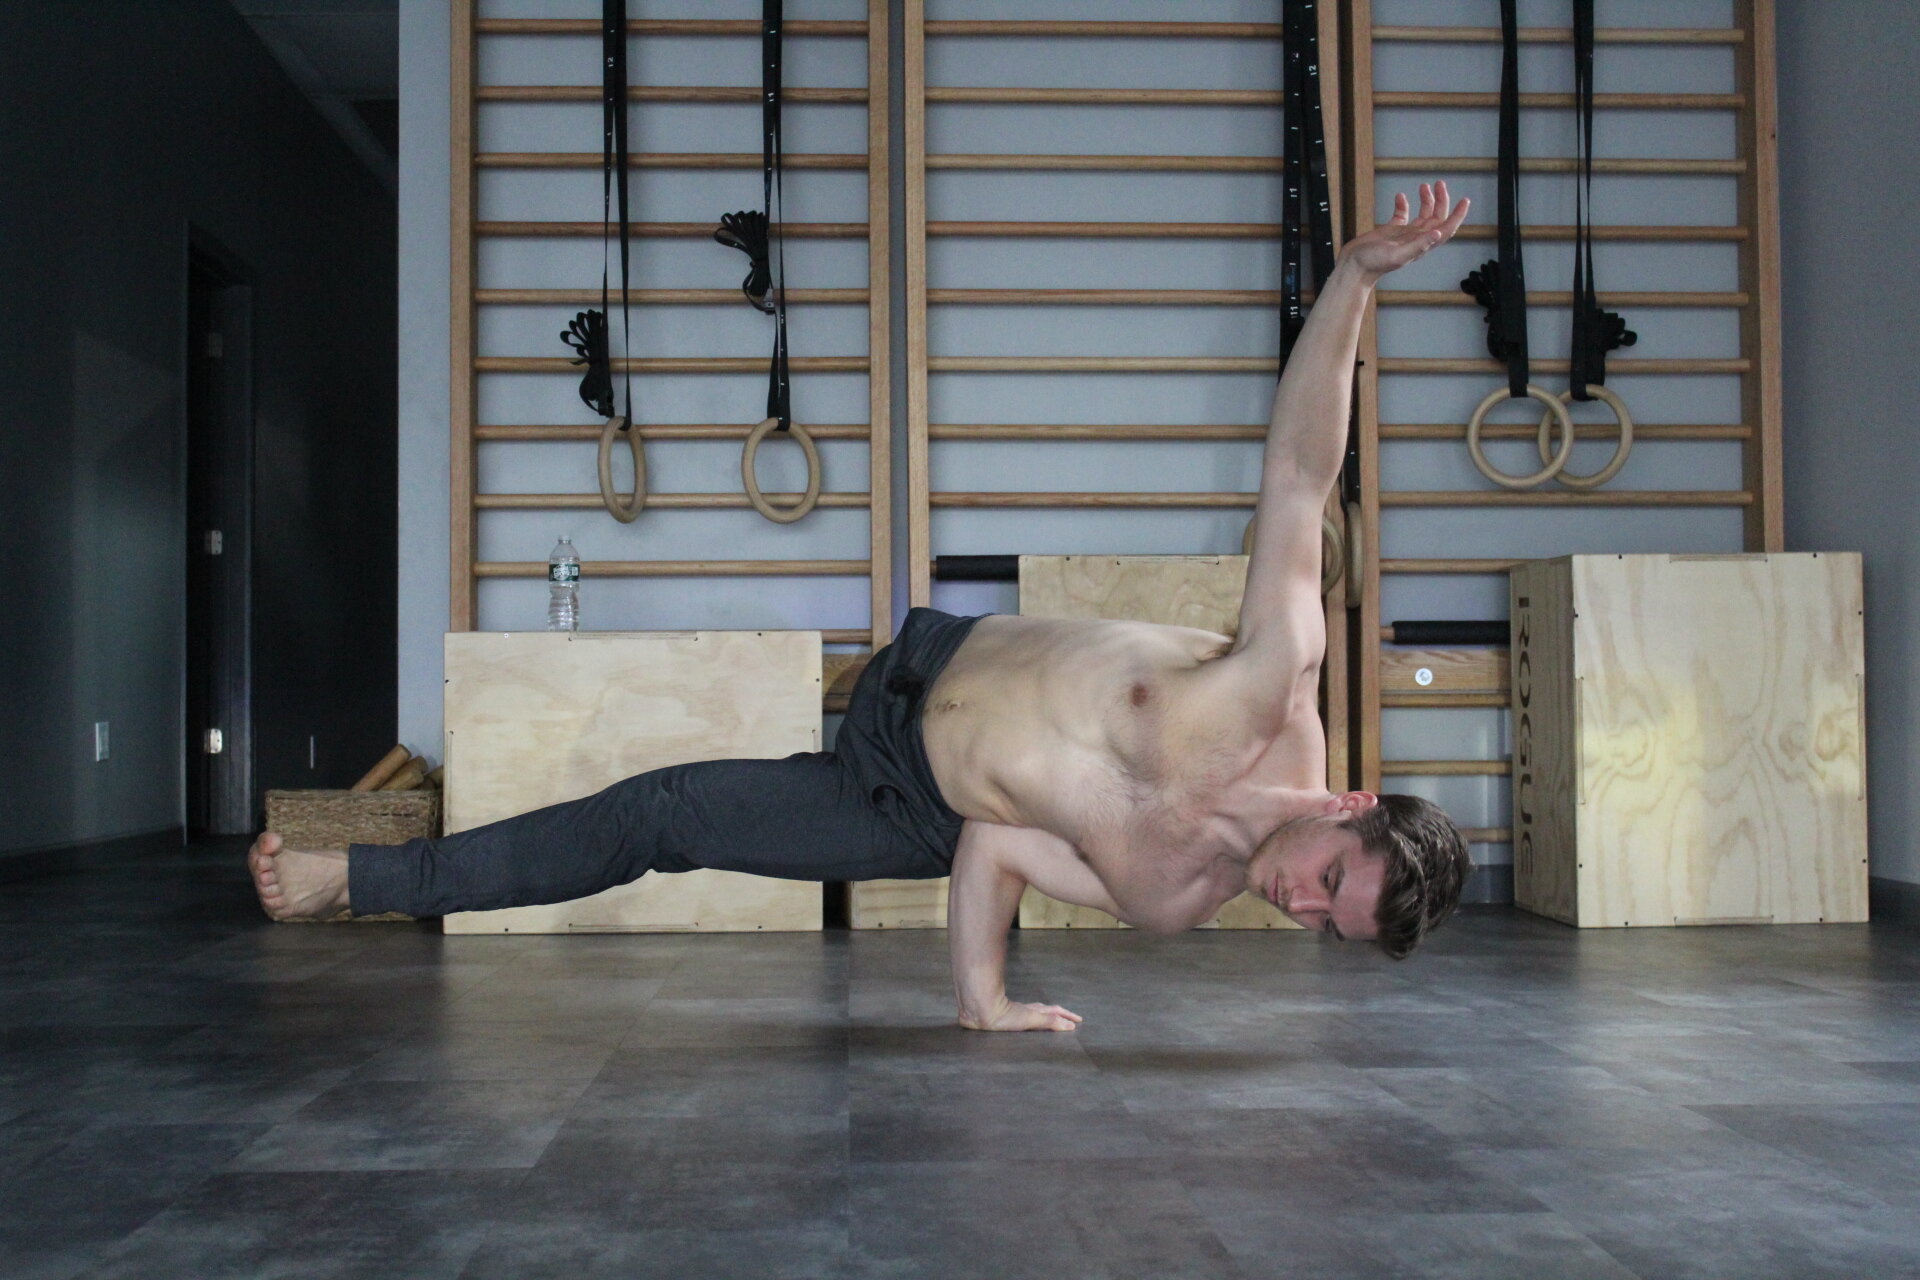
To begin to conquer the one arm variation, you will have to deal with the elbow lever – lifting your head off of the floor and keeping the elbow rigid at roughly 90 degrees. In order to work towards this progression, you will really need to begin twisting your belly button up to the ceiling. I also aim to “squeeze my balls.” This was a great cue given to me by Matt Bernstein of Boulder Movement Collective. If you have balls – I am sure you get it. However, if not, think of bringing the back leg down towards the floor and bottom leg up towards the ceiling. This will in effect cue more rotation of the hips and spine, as well as locking the legs. Always pull your legs apart into a front split position as well for more tension. (Note : Doing this with bent knees is fine as well. As we stated before. This is not an exhaustive list! Don’t forget to play!)
With the head up we now have to deal with the elbow lever. Note the relationship of the back elbow and shoulder. They are essentially in the same line. Look at the picture sideways and you will see it looks just like my first picture standing against the wall!
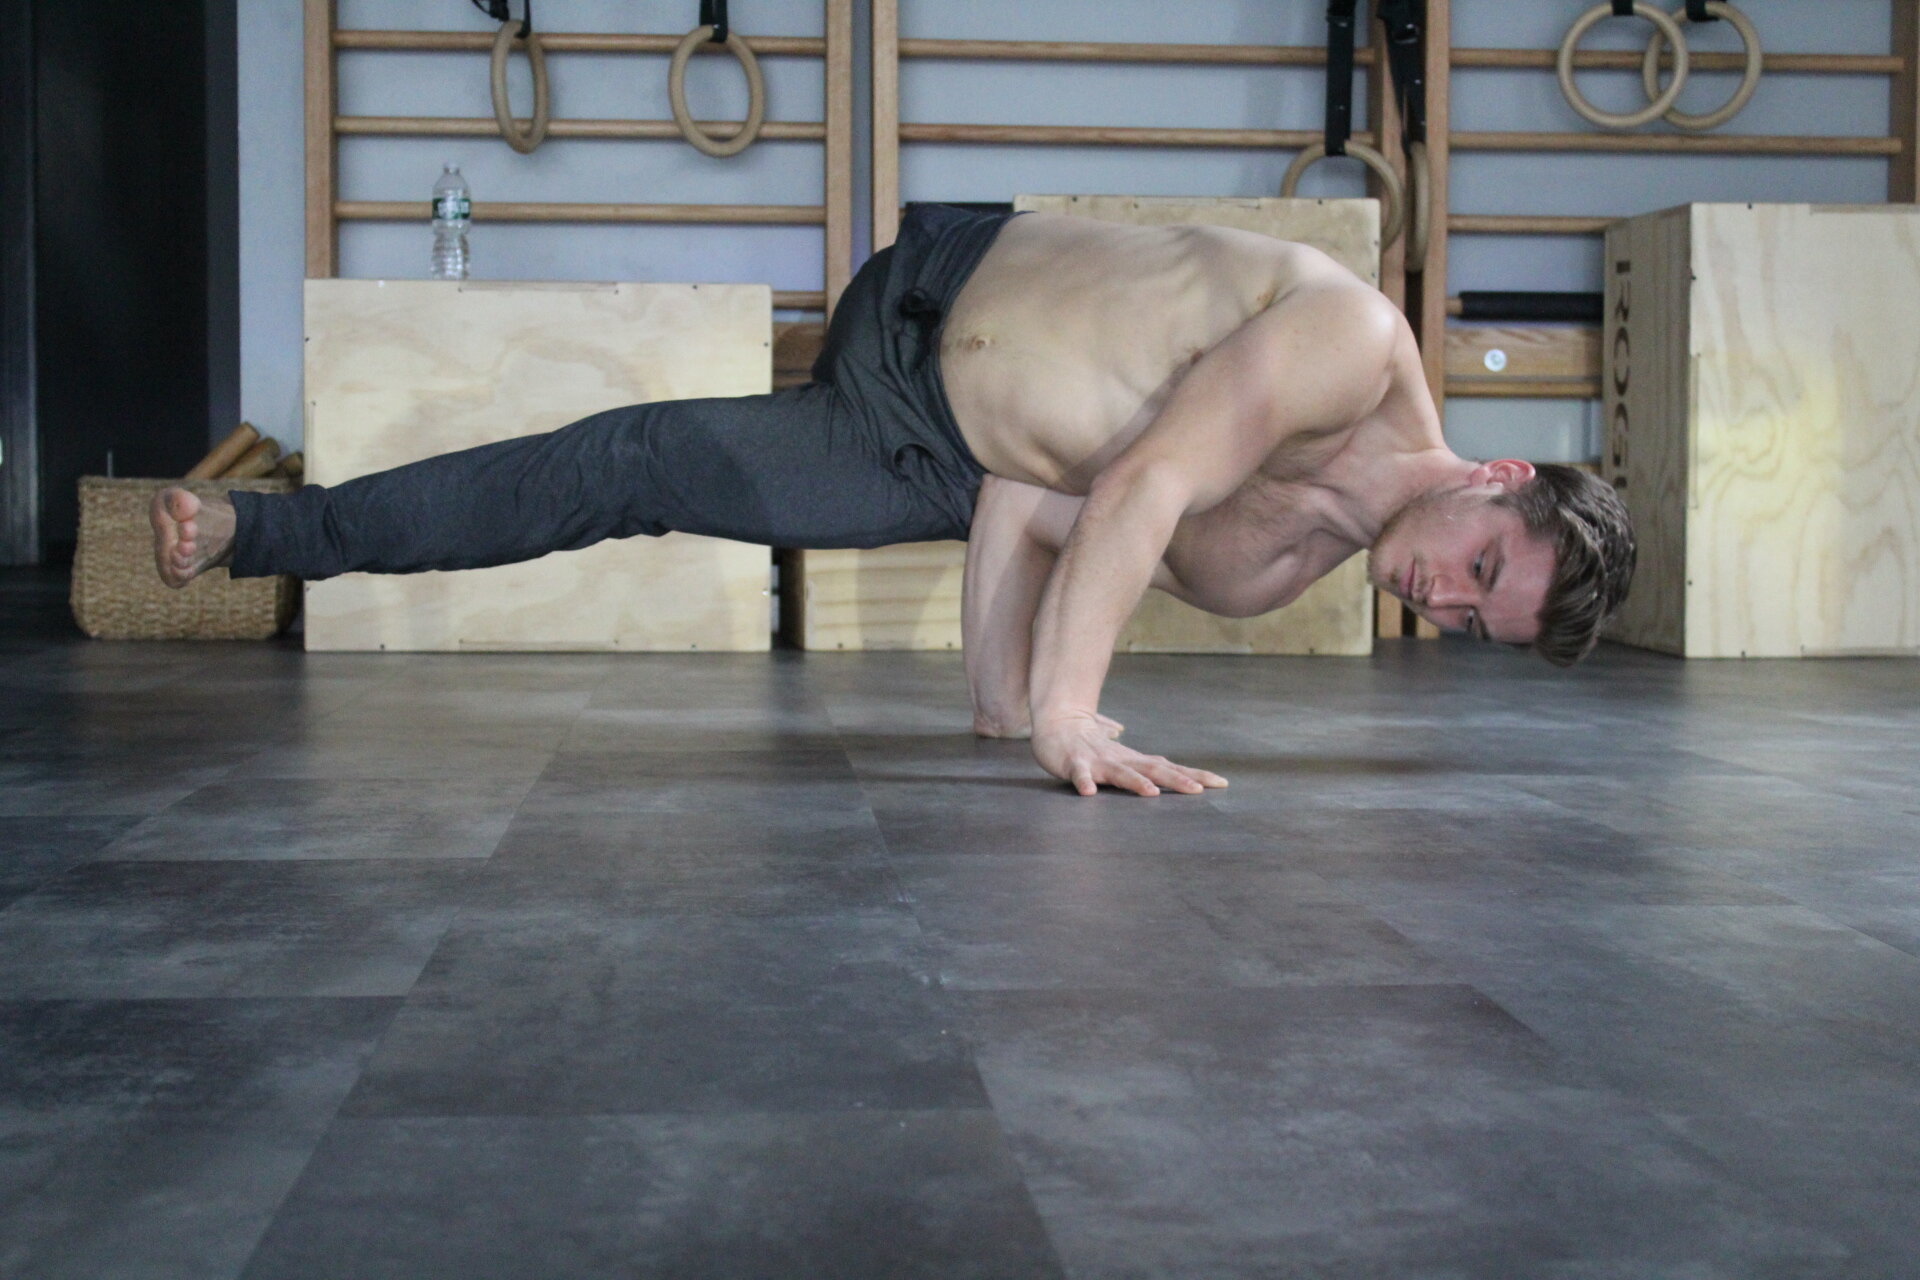
Last (of this series) but not least, the one arm! This beast takes time and patience to develop but is so worth it. Beyond anything, the QDR is a lot of fun to use and play with. In a one arm variation, it’s crucial to rotate as much as you can without falling over the backside. This will effectively “lock” the shoulder into place as you manage small corrections in your elbow angle and wrist.
One arm QDR.
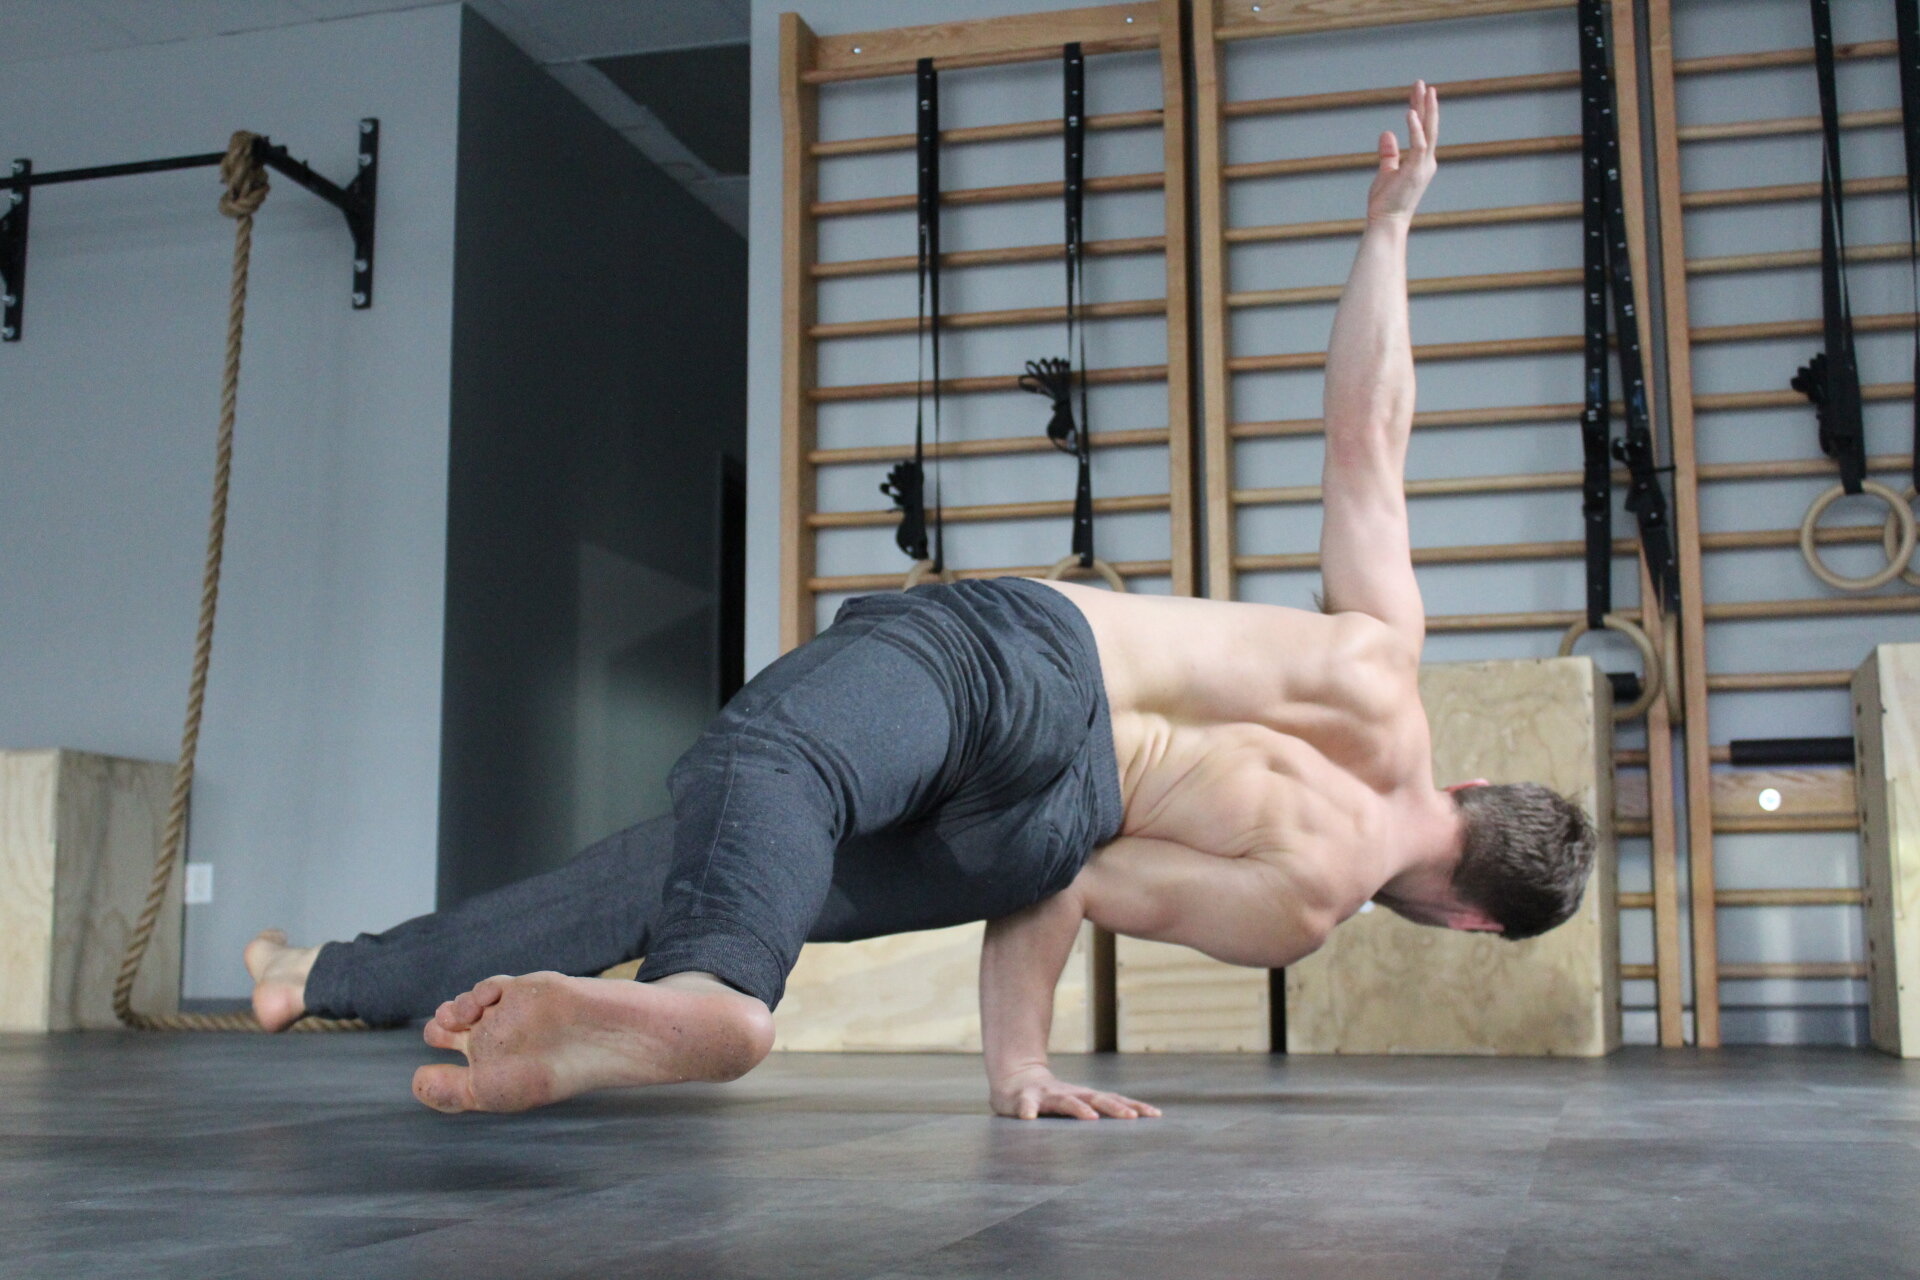
Note the rotation of the hips away from the floor and the mobility of the scapula.
So, now you have some work to do! There is a beginning and an end, all that’s left is for you to enjoy the journey. Stay focused and make little improvements day by day. Use the tips and progressions in this article to improve your QDR and get ready to explore some more artistic and athletic variations!
Would you like some help? Book an intro session below to learn more.
– Kevin