
Today I am going to share an advanced technique for developing an extremely robust and capable shoulder complex. This tool will develop joint and soft tissue flexibility, joint rotational capacity, gleno-humeral & scapulo-thoracic stability, and much more. We will save some of the anatomy for another day, but will cover the basics of the exercise and the cues that will be important.
Insert : The One arm active pull-in a.k.a One arm active hang. Watch HERE.
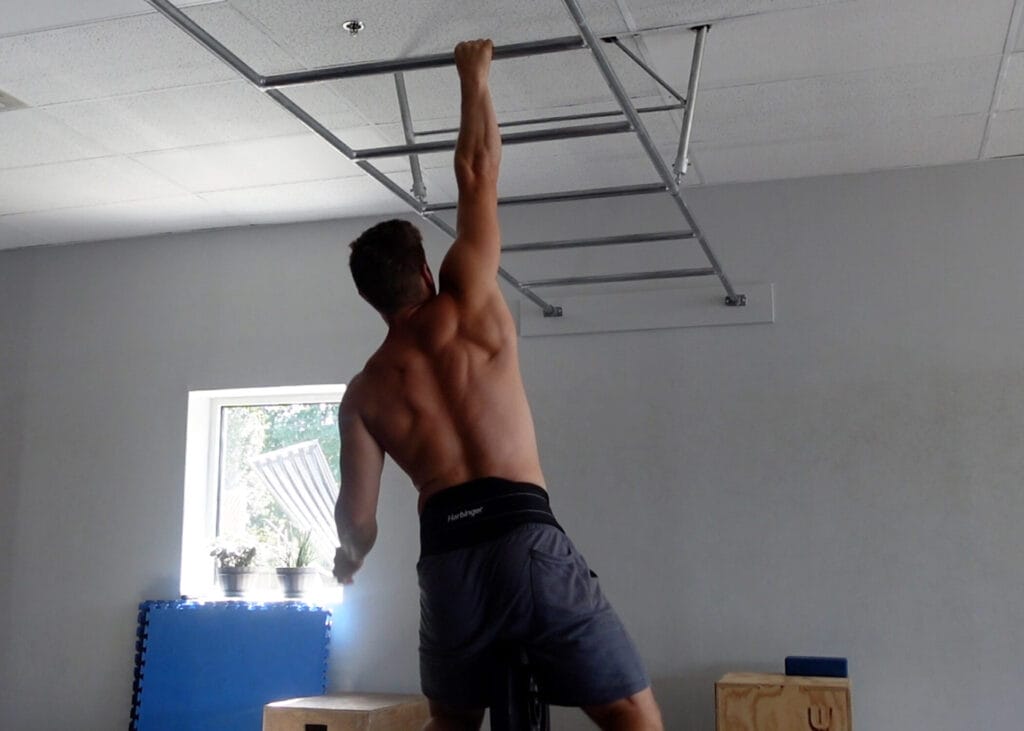
Performing weighted one arm pull ins. Note the pronated grip.
The one arm variation introduces a bit more effort to CONTROL (not avoid) rotation. Your sternum should be facing forward for the entire exercise. Ultimately, you want to maximize the range of motion by focusing on the following cues…
-
In the bottom of the hang, allow for maximal passive elevation and internal rotation.
-
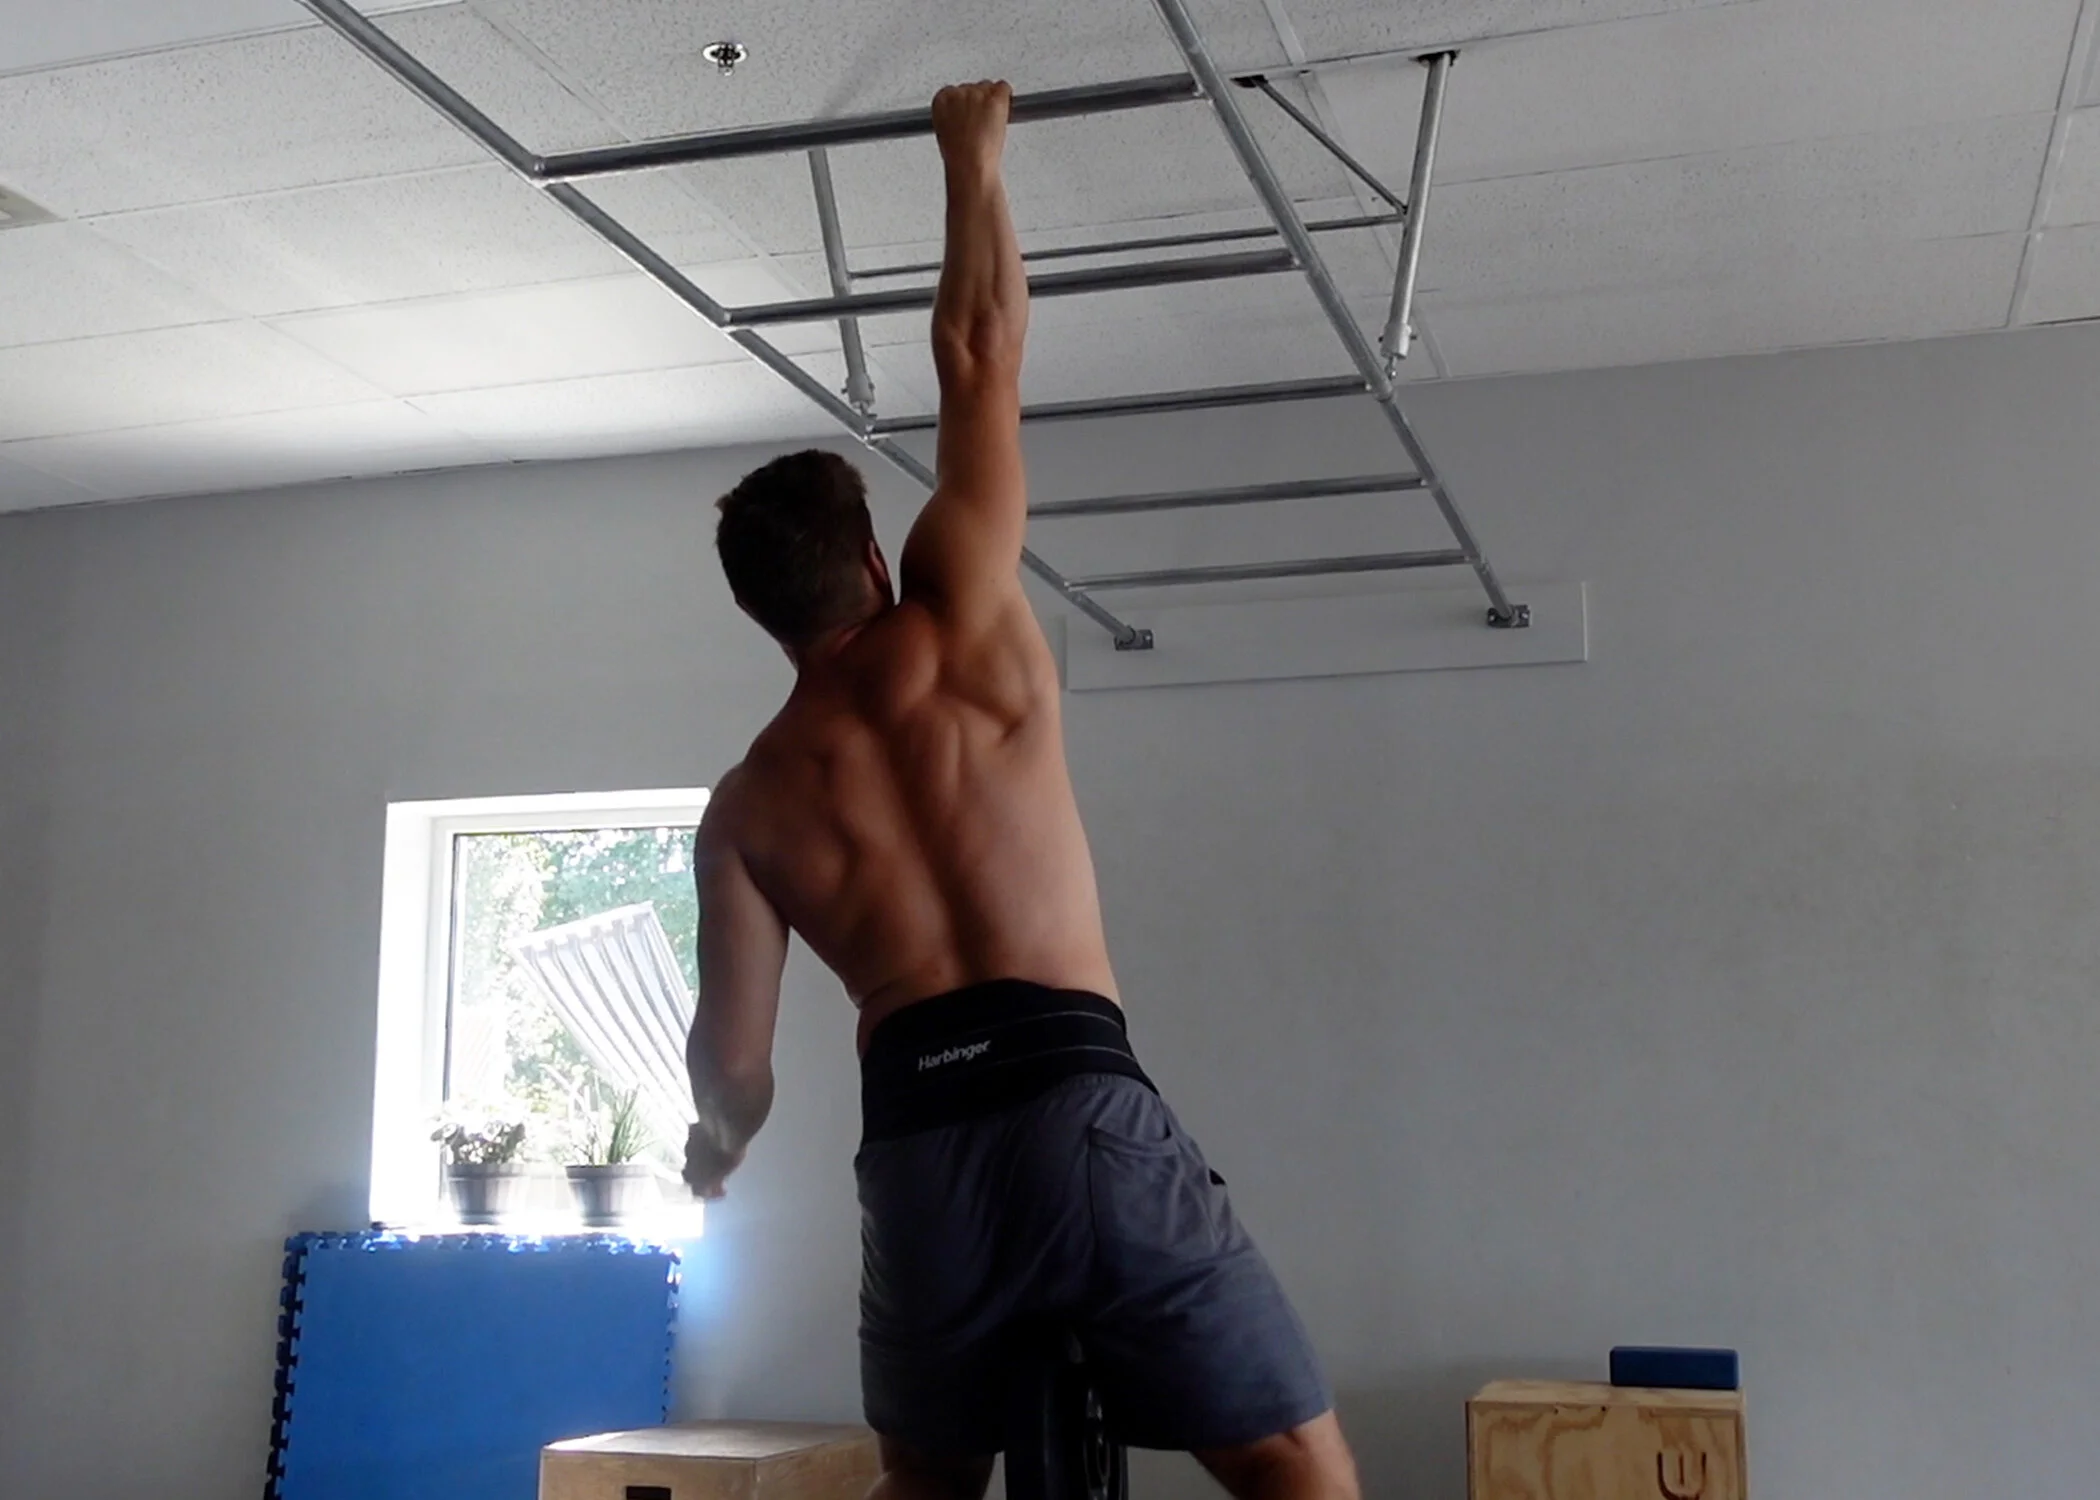
At the top of the hang, work for maximal depression, side flexion, and external rotation.
The entire upper kinetic chain will be engaged and taken to a full stretch, an extremely potent combination for strength building, prehab, and even recovery from certain injuries or sticky areas.
There are a few points of performance we use with students ready for this exercise, and I will list them below. Also, you can see a video demonstration by clicking here.
-
Control the rotation. You should be able to manipulate your body with the wrist/lower arm when hanging from the bar. Rotational components can be added in more advanced variations to add dynamic stabilization and increase mobility into the mix, but for now aim to always face sternum forward.
-
Hold the top & bottom positions. Spend some time in these isometric contractions for optimal progress.
-
Crush the grip. Squeeze the bar hard. When you are slipping from the fingertips you know you are fatigued.
-
Depression + Side Flexion + External Rotation. Combine these three cues in the top position to create a “crescent moon shape” with your body. It will maximize tension and stability.
-
Advanced tip: Aim to bend the elbow but only if you are maximally depressed. If you actually can bend the elbow, then do not actually bend it but apply enough tension to where you are almost there. This technique is simply to load and stress the biceps tendons.
This exercise is easily one of my favorites, but it wasn’t always possible and in fact was at some points in my journey painful. I would feel an impingement-esque feeling in my shoulders.
So, what did I do?
Lower the load/intensity, decrease the reps/time or use assistance! All of these strategies will work if you understand the technique. It should be completely pain free to perform. You can use your toes to support some of your weight, a rope by your side to pull on with your free arm, a ring set slightly higher than the next to hang from, and more. Get creative. Explore whats possible for you and your current level.
A standard to strive for is 5 reps with a pause top and bottom, controlled, each arm, without coming down. You can begin with a rep range of 3-5 and advanced 5-10, with planned isometrics during the pattern of 3-10 seconds.
Now, go get freakishly strong.
– Kevin
*For more questions on implementation, programming, or technique, please contact us at locomotionnewyork@gmail.com with headline “One arm Pull-in”.